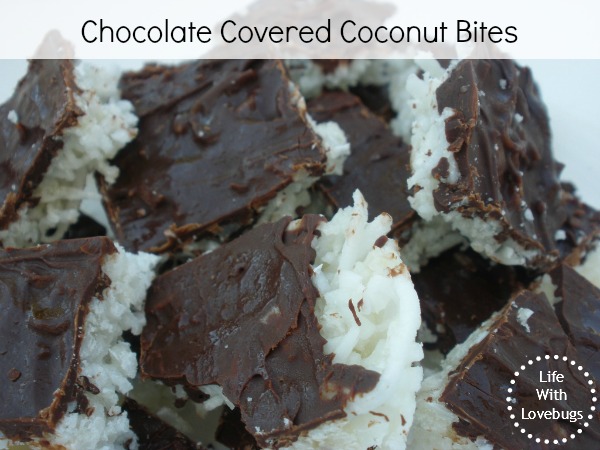
Chocolate Covered Coconut Bites
I know that coconut oil is all the rage right now. I bought my first tub of it about 6 months ago and have been trying all sorts of ways to use it. It’s part of the body butter I make, I use it in my face wash (post to come, it’s fantastic!) but I don’t use it at all in any type of cooking. Probably because after using it in so many beauty products I make, I no longer associate it with food. But I love to eat coconut, so I wanted to try to cook with it. I’ve seen a lot of people using coconut oil to make desserts, so I thought I would jump on the bandwagon and try one of my own. Here’s what I came up with…
Ingredients:
- 4 c unsweetened shredded coconut
- 1/3 c honey
- 1/3 c coconut oil
- 1/4 tsp sea salt
Chocolate Coating:
- 2/3 c chocolate chips
- 1 tsp coconut oil
Directions:
- Line a 13×9 pan with wax paper, be sure that the edges hang over about 2-3 inches.
- Mix honey, coconut oil and salt in a large bowl until combined. Add shredded coconut and mix until all of the shredded coconut is evenly coated.
- Spread the mixture in the pan evenly and press down with the back of a spoon until it’s compact. Put in the freezer for at least 1 hour.
- After the hour is up, put the chocolate chips and 1 tsp of coconut oil in the microwave, stirring every 30 seconds until it’s completely melted.
- Spread the chocolate sauce over the coconut mixture and return the pan to the freezer for another 30 minutes.
- Once the chocolate is hardened, lift up the wax paper and place the sheet of treats on a cutting board, then cut into squares. Store in the freezer.
Print recipe: Chocolate Covered Coconut Bites
I like to cut them into little bite size pieces so that I can snack on them. The chocolate melts quickly once you take it out of the freezer, so it can get messy if you cut them to big. Enjoy!