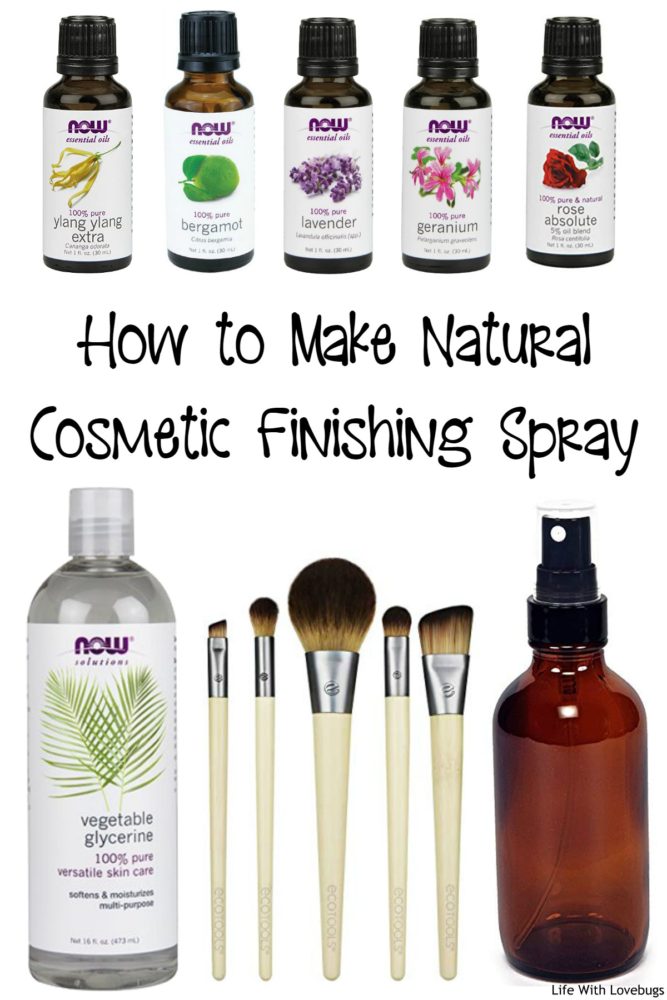
How to Make Natural Cosmetic Finishing Spray
I never knew what a finishing spray was until a few months ago. I was talking to a friend about how my makeup seems to last only until mid-afternoon and she suggested that I use a cosmetic finishing spray. She explained that the spray is used after you’ve finished applying your makeup to hold your makeup in place for long periods of time with less touch-up!
You can also use finishing spray, by spritzing your application brushes and then picking up pigment shadows and applying to your eyes. This reduces pigment residue from landing on unwanted places of the face.
I’ve been using her easy DIY recipe for about a month and it’s worked great! Plus, it’s made with all natural ingredients which you know I love. Below is the recipe along with a few suggestions for essential oils to add according to skin type, enjoy!
Ingredients:
- a small spray bottle (preferably glass when using essential oils)
- vegetable glycerin (found in the pharmacy aisle)
- distilled or purified water
- 5-10 drops essential oil (Optional, see the chart below for suggestions)
Directions:
First, fill the spray bottle with approximately 3 Tbsp of glycerin. Then fill the remainder of the bottle with distilled or purified water, and lastly add your choice of essential oils. Shake gently before each use.
For Oily Skin:
- Orange
- Lemon
- Lime
- Bergamot
- Geranium
- Cypress
For Acne Prone Skin:
- Tea Tree
- Geranium
- Vetiver
- Lavender
- Patchouli
For Dry Skin:
- Cedarwood
- Geranium
- Myrrh
- Sandalwood
- Roman or German Chamomile
For Mature Skin:
- Ylang-ylang
- Patchouli
- Cypress
- Sandalwood
- Lavender
- Frankincense
- Rose
For Combination Skin:
- Patchouli
- Lavender
- Bergamot
- Orange
The links below are affiliate links. For more information, please view our Disclosure page.