DIY Soothing Shower Melts
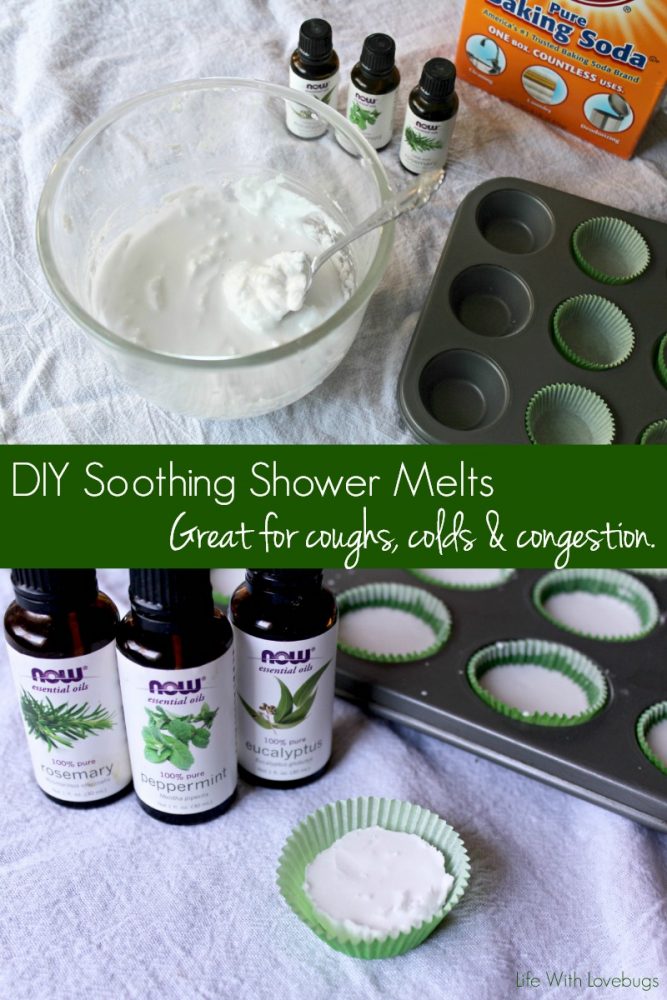
There’s been a real nasty cold going around these last few weeks, and the rumor is it’s pretty hard to get rid of! I always keep some of my homemade Vapor Rub on hand to fight a cold and can usually keep the symptoms at bay by drinking Apple Cider Vinegar and getting lots of sleep. But sometimes the cold gets the better of us and we end up feeling stuffy and congested. A few years ago when our house was hit hard with a bad cold I tried making these shower melts to help with the congestion. I’ve made them a few times now and I have found a recipe/method that works well. Ready to get started? Let’s gather our supplies!
Supplies:
- 1 c baking soda
- 1/3 c water
- Eucalyptus, Peppermint and Rosemary essential oils
- muffin tin or silicone mold
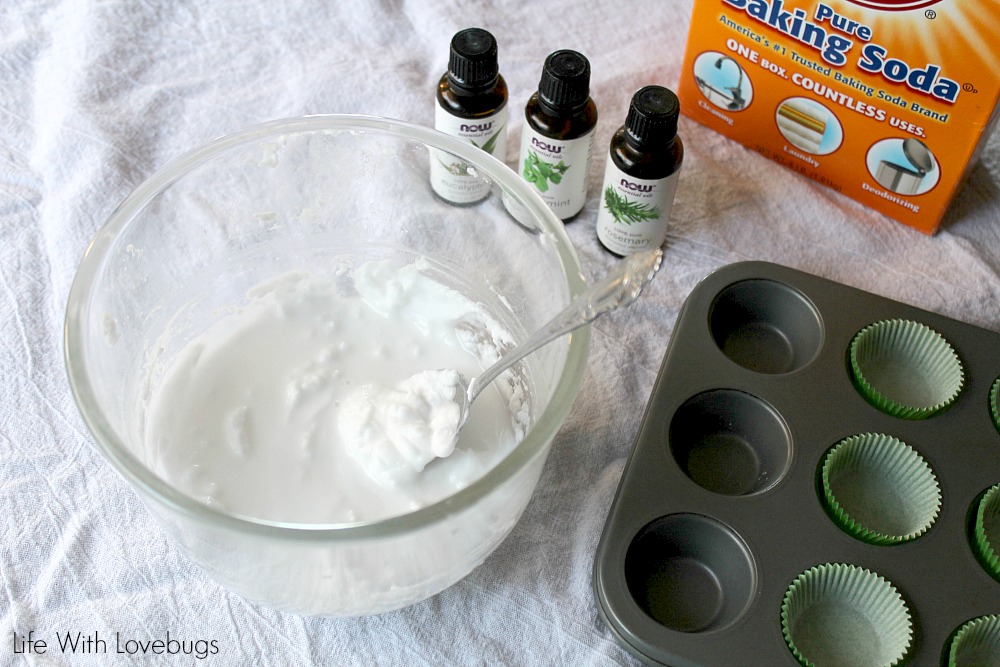
In a medium-size bowl mix baking soda and water.
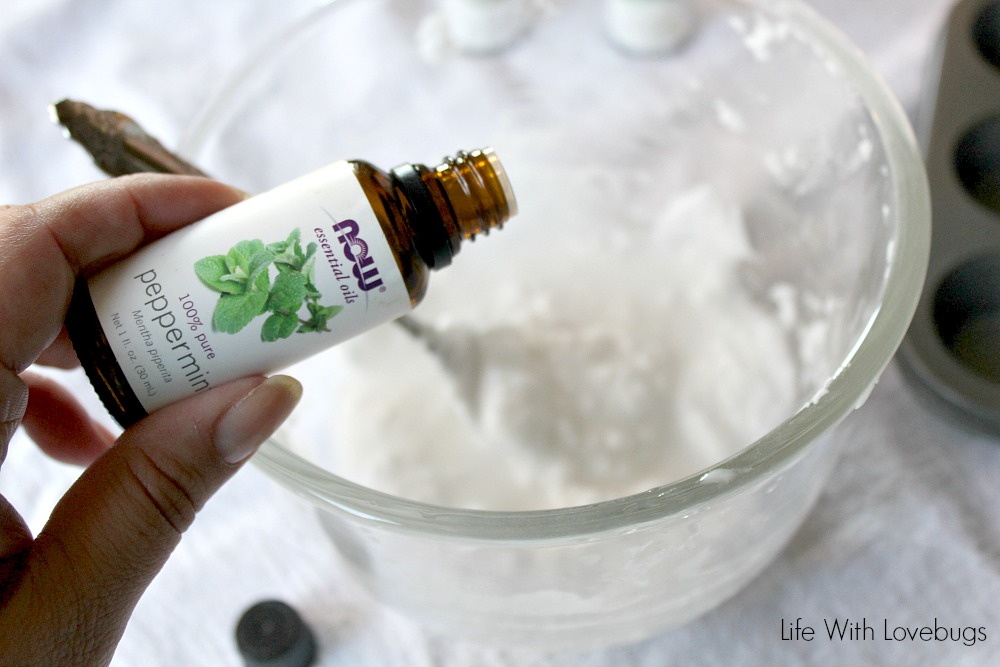
Add 15-20 drops of each essential oil.
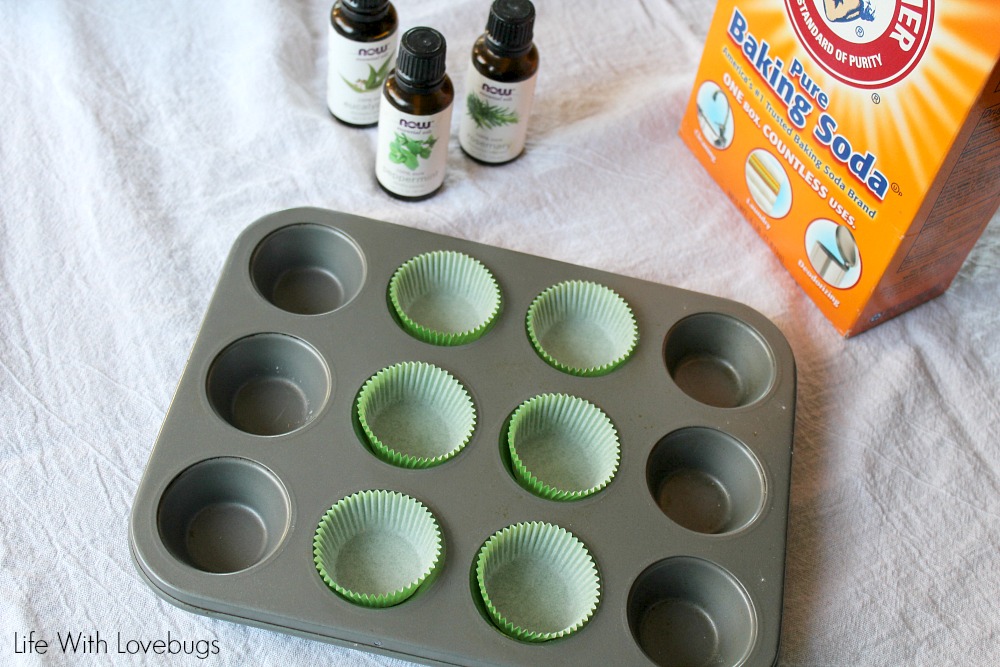
If you’re using a muffin tin, add liners.
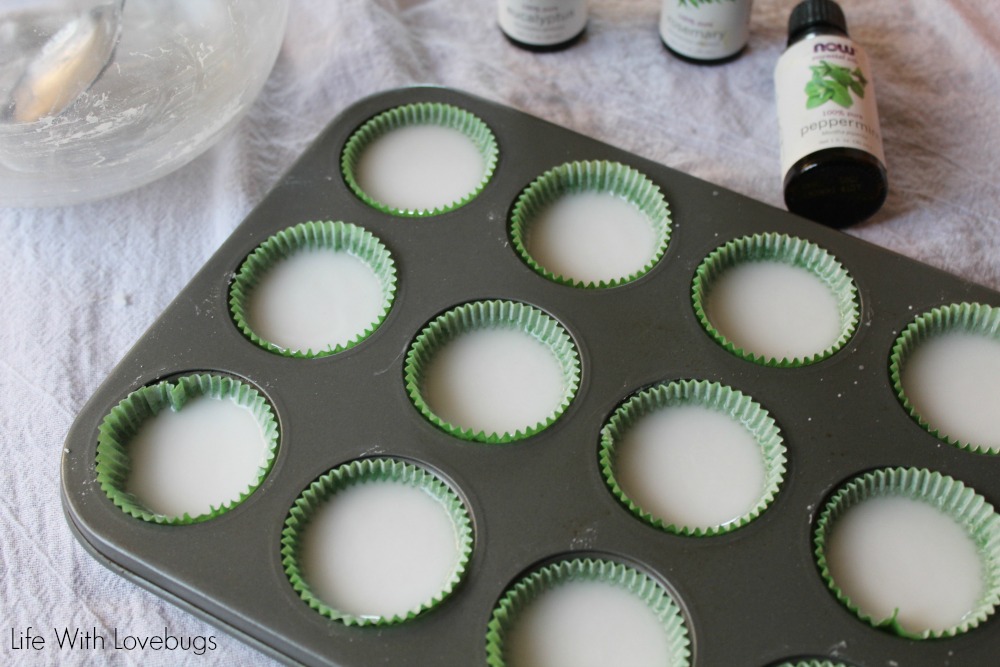
Spoon the mixture evenly into the lined muffin tin, or silicone molds.
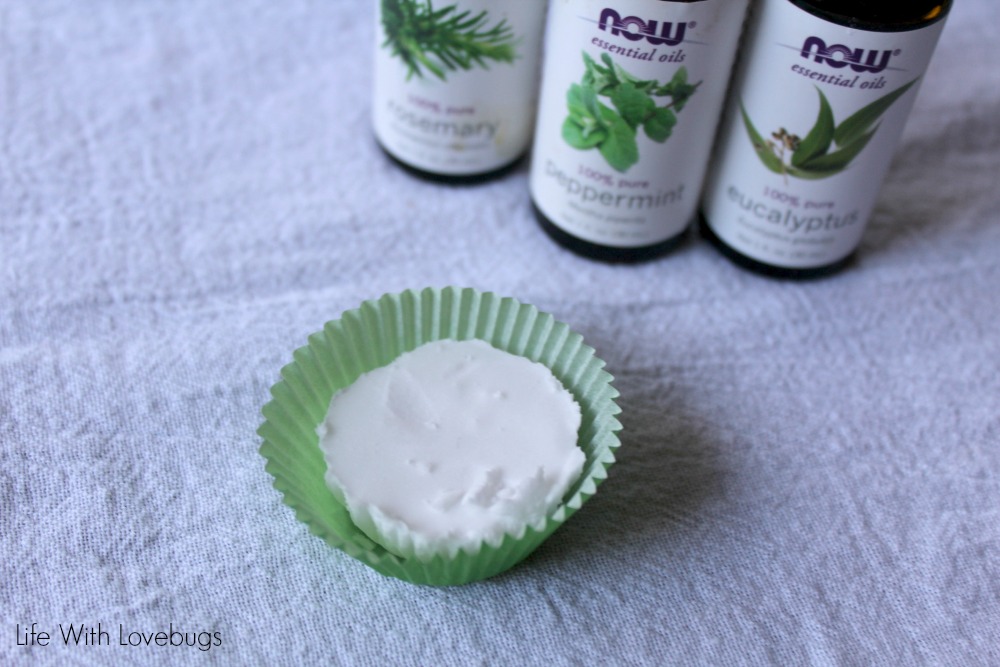
Let the cups/molds sit overnight until they are dry. If you want to dry them out quicker, you can bake them at 350 degrees for 15-20 minutes. If you bake them, do not add essential oils until after they are done. Just add a few drops on top of each of the shower melts.
The first time that I made these I used mini muffin tins. I placed just one on my shower floor and let the warm water “melt” it. The smell of the essential oils wasn’t very strong. The next day I used two melts and was able to smell the oils much better! For the next batch, I used a regular size cupcake tin instead and found that I was able to use just one of the larger size melts to get a strong essential oil scent.
Be sure to store these melts in a glass jar, or sealed container. If you live in a humid climate, you may want to store these in the freezer to make sure the moisture in the air doesn’t melt them in your container.