
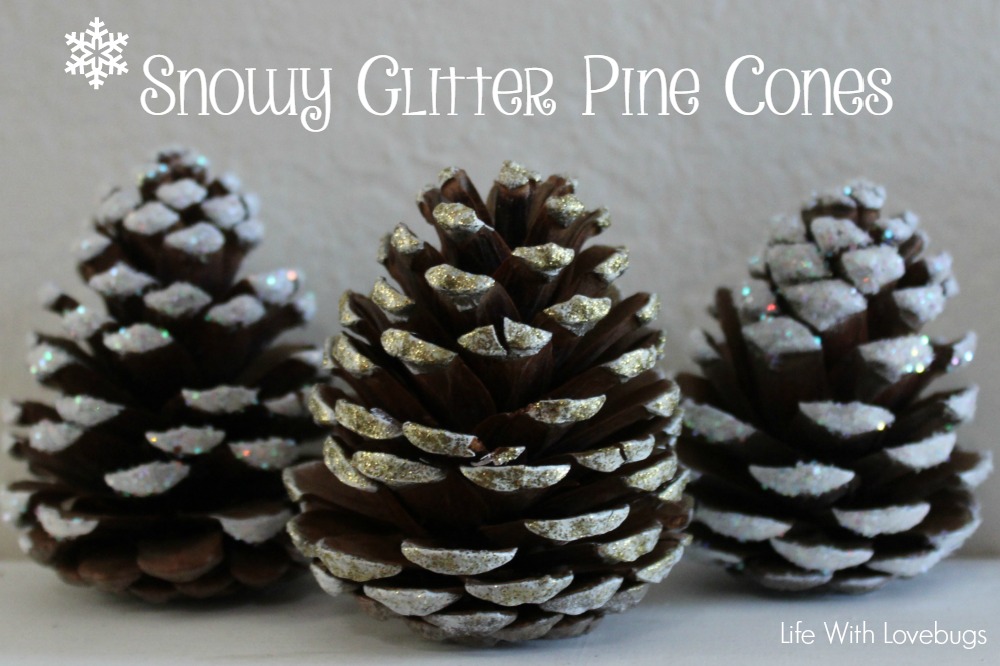
Snowy Glitter Pine Cones
This Winter in Southern California has been unusually cold so I’ve been inspired to add more snowy decor to my living room. For this next project, I wanted to use something from outside. At first, I thought sticks, maybe shaped to form a wreath, but then while we were on a walk I decided to use pine cones instead.
We didn’t find too many that were fully open so we took home what we could find. To open the pine cones I placed them on a foil-lined cookie sheet and “cooked” them in a 200-degree oven for a few hours, turning them every half hour or so. Be sure to remove any pine needles or leaves before you place them in the oven. Once they are open, be sure to place them on a heat-safe surface because they may be hot.
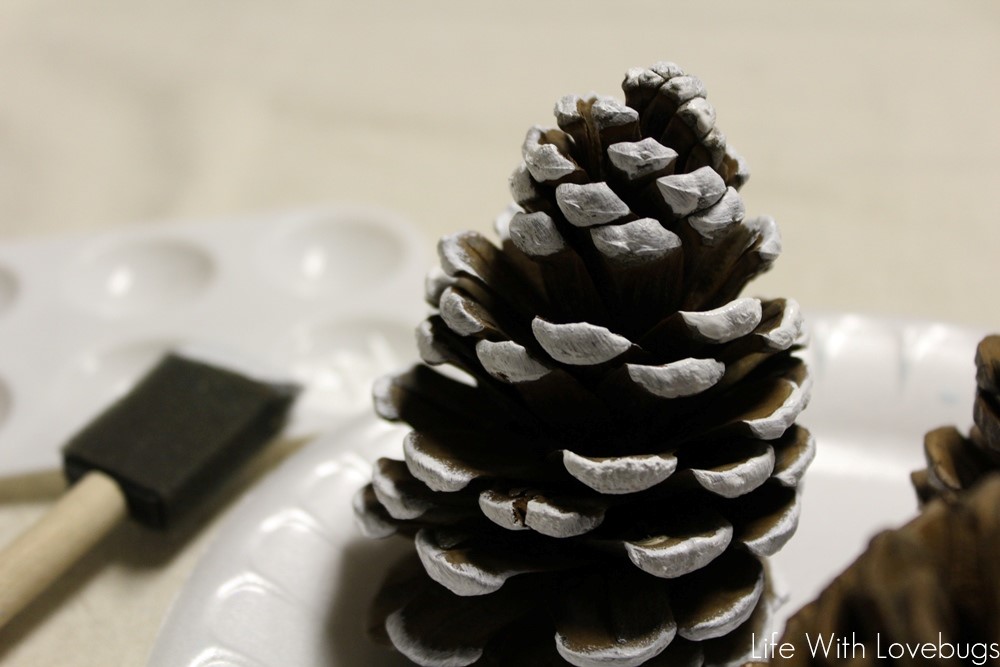
After the pine cones had cooled off, turn them upside down and shake any loose debris out that may have been trapped inside. Next, I painted the tips of the pine cone white and let them dry.
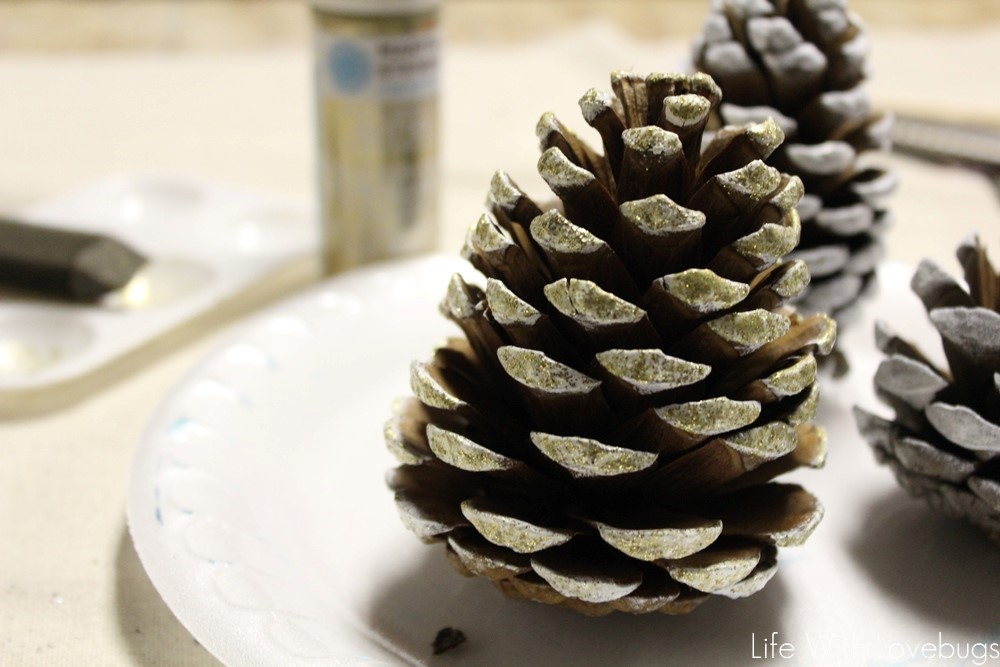
Once dry you can paint the tips with glitter paint…
Or apply glue (I used Mod Podge) and then sprinkle glitter on top.
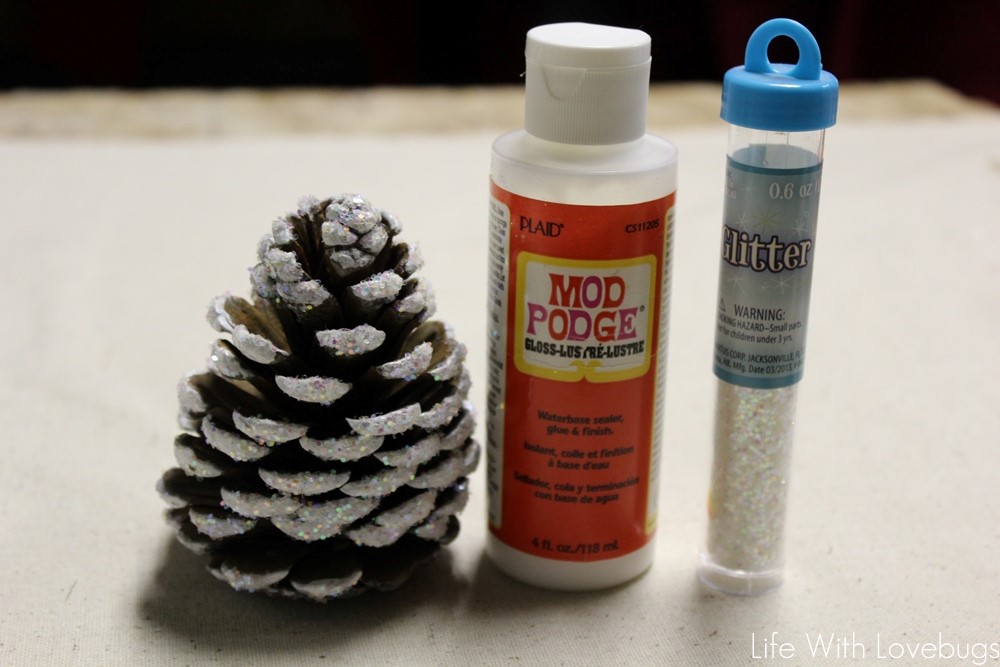
I like how the glue + glitter method turned out more than just the glitter paint because I thought it was hard to see the glitter paint. But when you put them side by side, the pine cone with the glitter paint does show nicely.