
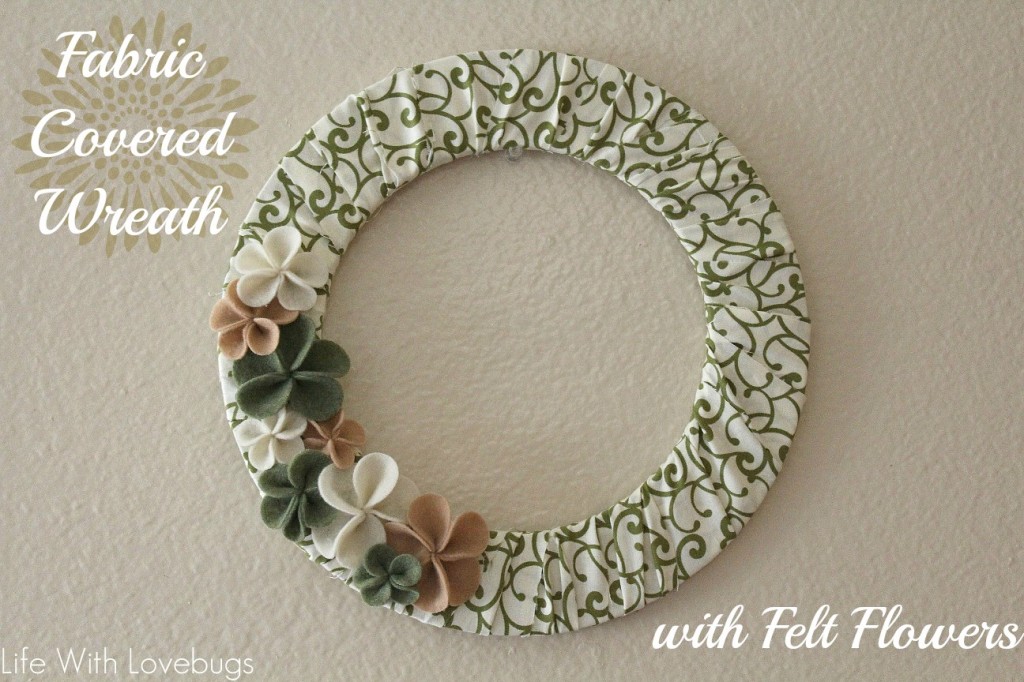
Fabric Wrapped Wreath with Felt Flowers
Two year ago I made a yarn wreath for Fall and I have to admit, I will never do that again! Wrapping the yarn around the wreath took forever and as my long time reader know, I am all about quick and easy projects! Then for Easter last year I made a fabric covered wreath using a Styrofoam wreath. This method was much easier, however the heat in Southern California quickly dried out the Styrofoam and it cracked within a few weeks. So for my latest wreath I decided on two things: 1. I want to cover the wreath with fabric because it’s easy and 2. I will keep my wreath inside because nothing outside survives here unless it’s a cactus.
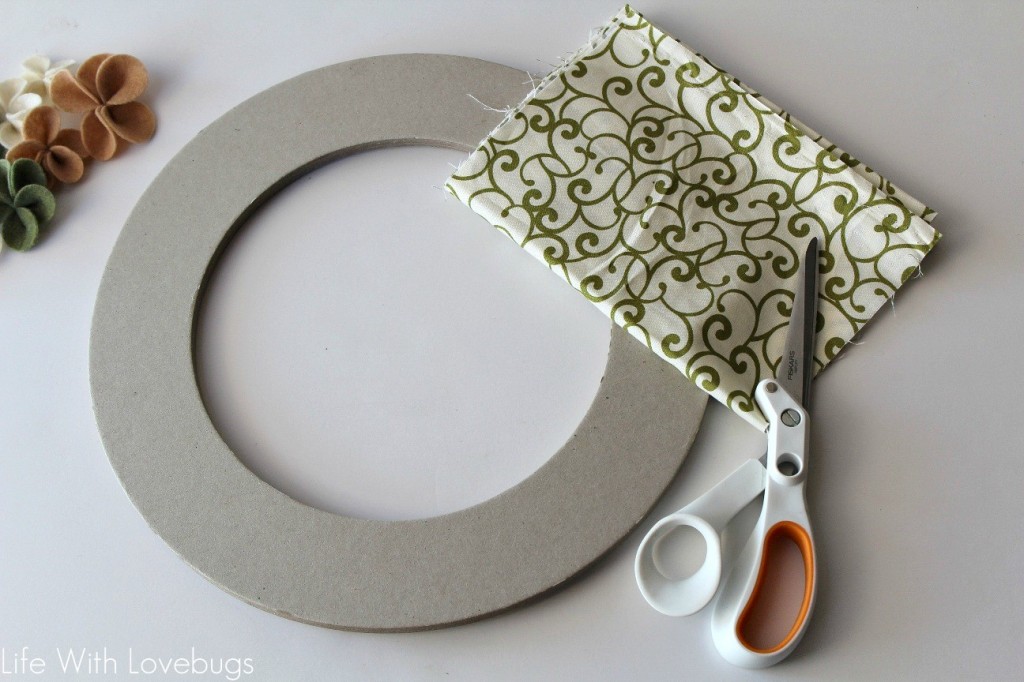
Supplies:
- plain wreath frame (I used a chipboard frame)
- printed fabric – the amount will depend on the size of your wreath, I used a 1/3 yard
- felt
- scissors
- needle
- embroidery thread
- glue
Directions:
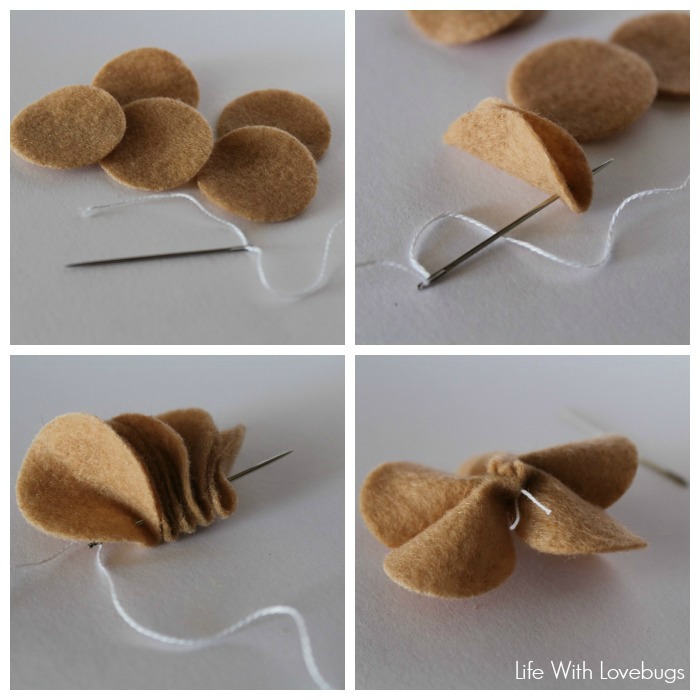
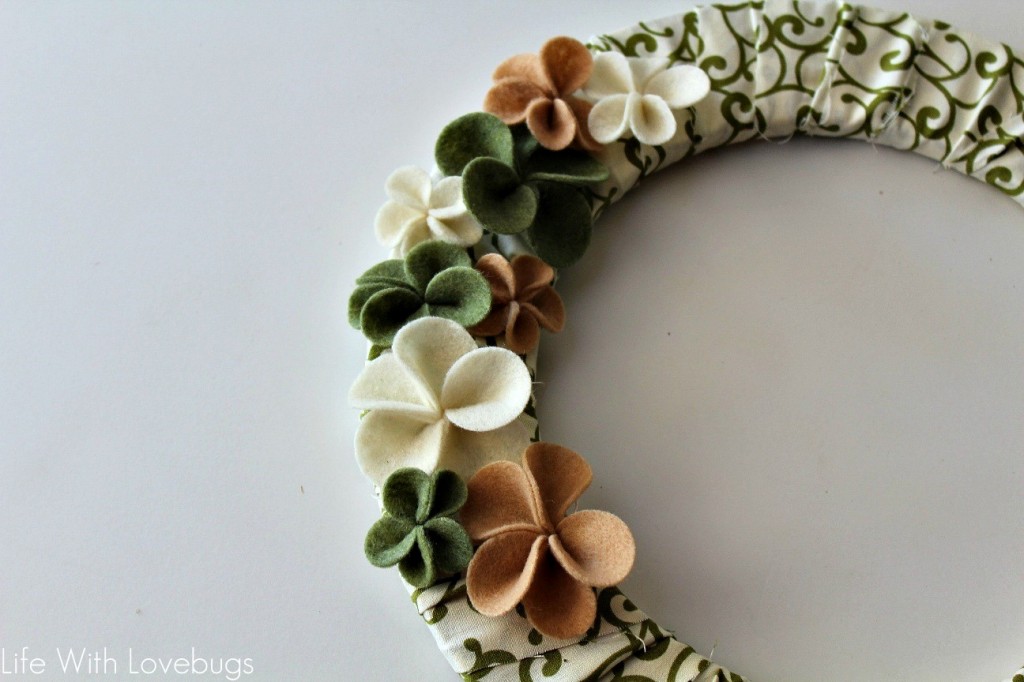
To make the felt flowers, cut (5) circles of felt. Then one by one fold each circle in half and use your needle to thread the circles together and tie the thread tight to make a flower.
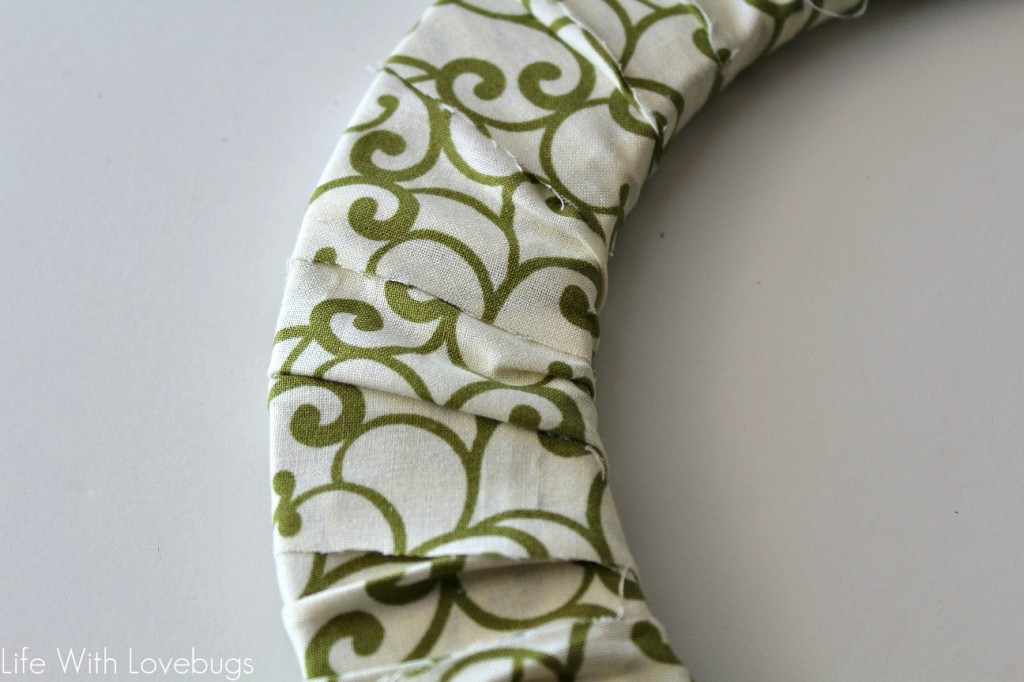
Cut your fabric into strips.

Then wrap the strips around the wreath frame.
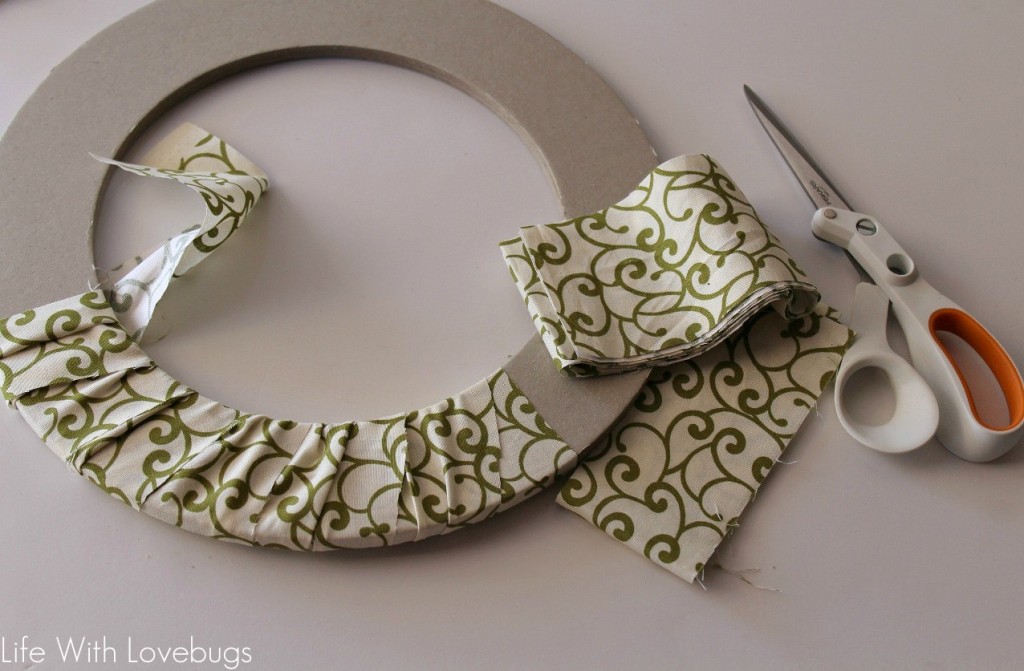
I like to make folds with the fabric to give the design texture and dimension. Plus, you won’t see the raw fabric edges and the loose thread.
Arrange your flowers on the wreath and then glue them down.
Then you’re done, all you need to do now is hang your wreath on the wall (or door)!

This method of making a wreath is a quick and easy way of adding seasonal decor to your home. When I finish wrapping the wreath frame with fabric I pin the last bit to secure the fabric instead of gluing. This way when the season is over I have re-use the frame.